The Upgraded Upper Intercooler Pipe set from IDParts can be confusing to put together. It will “fit” a few different ways, but the correct assembly will ensure proper fit without interference and minimize the chances that your upgraded TDI will suffer boost leaks. In this article we’ll show you how to put it together the right way.
Firstly, we must thank an IDParts customer who is a Design Engineer for sending over some fantastic illustrations of how these pipes go together. We wouldn’t have the slightest clue how to make something like this.
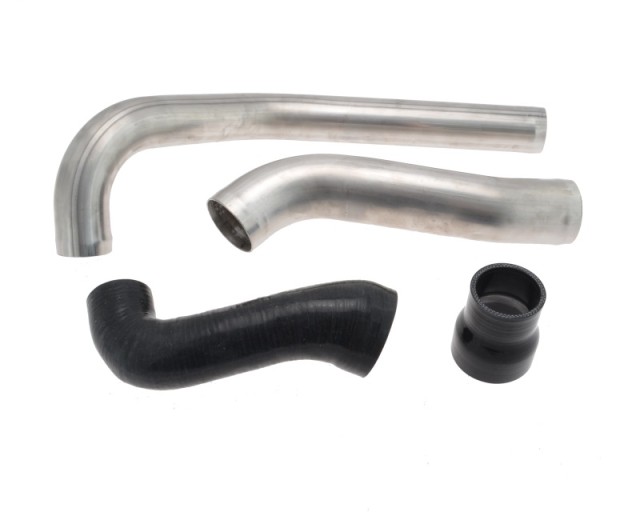
As you can see in the product photo, the kit comes with 4 pieces:
1) straight reducer hose
2) straight metal connecting pipe
3) 90 degree elbow hose
4) long metal pipe
Quick Tips
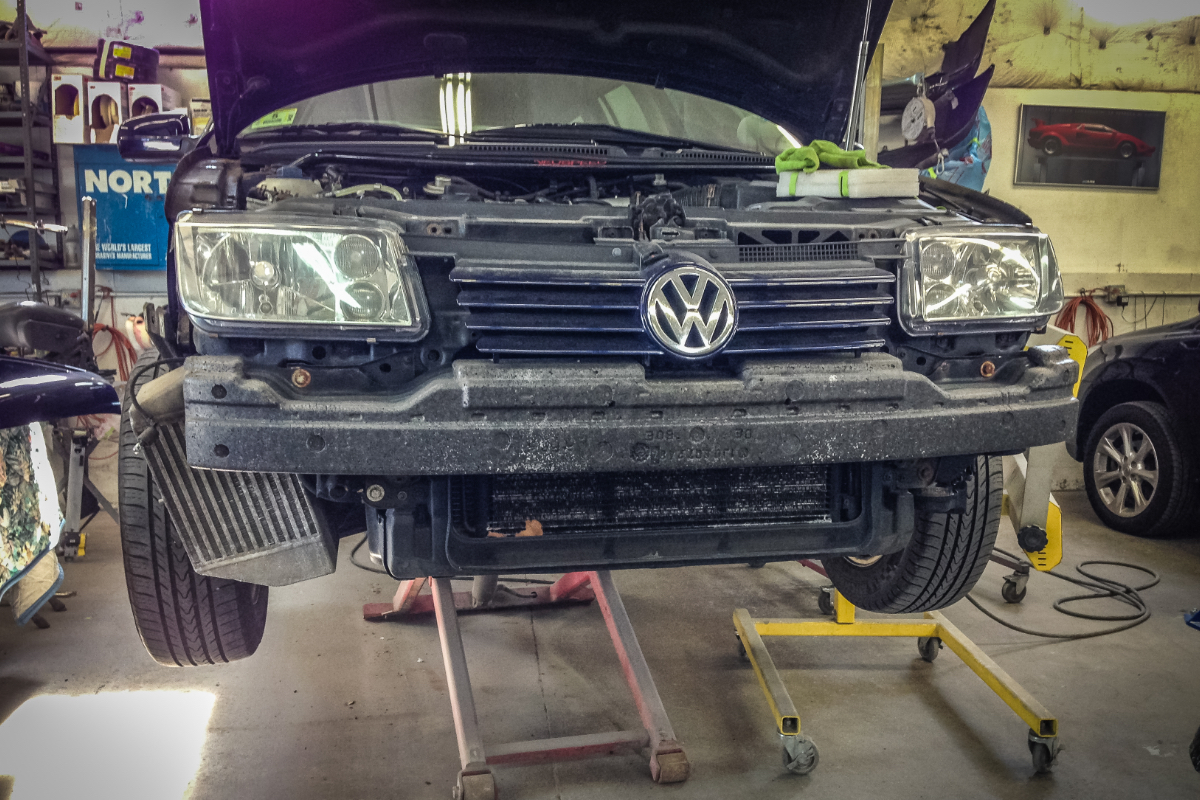
Removing the left side headlight will make putting these pipes on the intercooler much easier. Ultimately removing the bumped may actually save time.
Hair spray is a great way to significantly add holding power to silicone intake piping. Spray the inside of the hose before installing and clamping. It dries quickly and creates an adhesive barrier, stopping oil vapors from getting between the hose and pipe and limiting chances of the hose blowing off.
Order Of Assembly
Installation follows that order from the top of the intercooler – the straight reducer’s large end goes on the outlet on the top of the intercooler. Then comes the straight pipe, then the 90 degree elbow. Finally long pipe gets plugged between the 90 degree elbow in the kit and the 90-degree elbow that comes OEM from the EGR valve (not pictured, connects to the top of the metal pipe in illustration below).

The three piece design at the top of the intercooler was created to give flexibility in overall length. Different aftermarket upgraded side-mount intercoolers (SMIC) have slightly different orientation of the top outlet. For a car with the OEM SMIC all the bottom pieces must be fully pushed together, and the metal connecting pipe must not be visible.
Choosing A Good Hose Clamp
A proper hose clamp is essential to keeping any pressurized hoses from separating when pressurized. The clamps in the pictures above are so-called “worm gear” clamps, those should be avoided! Worm gear clamps do not evenly tighten around the circumference of the hose. Use “T-Clamps” with rounded edges instead. T-clamps put even pressure around the hose as you tighten and the rounded edges will be much less likely to cut the silicone hose. OEM spring clamps work well too.
The expanded view above shows 4 clamps – one is 2.75″ the other are 2.25″. Alternatively the OEM spring clamps can be used: you will need only two of the Small Diameter Intercooler Hose Clamp – N90781601 as the larger one at the bottom is already on the car, as is the clamp used at the top where the EGR elbow is plugged in.