Changing your van’s brakes can be a huge money saver. Check out the job to see if this may be a good DIY project.
Sprinter Front Brakes Tools Required
- Jack & Jackstands or Lift to raise vehicle
- 18mm Socket
- 12mm Socket
- Breaker Bar
- 6mm Allen Bit
- T30 Screwdriver or Bit
- Large Flathead Screwdriver
- Torque Wrench
Sprinter Front Brakes Parts Used
- Front Brake Set from IDParts.com for Sprinter VS30 2500 & 3500 w/ Brake Pads & Rotors(configured with HALTEN HD pads & Zimmerman Coated Rotors)
- New Front Brake Pad Wear Sensor for Sprinter
How to Complete Sprinter Front Brake Change
Remove the brake fluid resevoir cap.

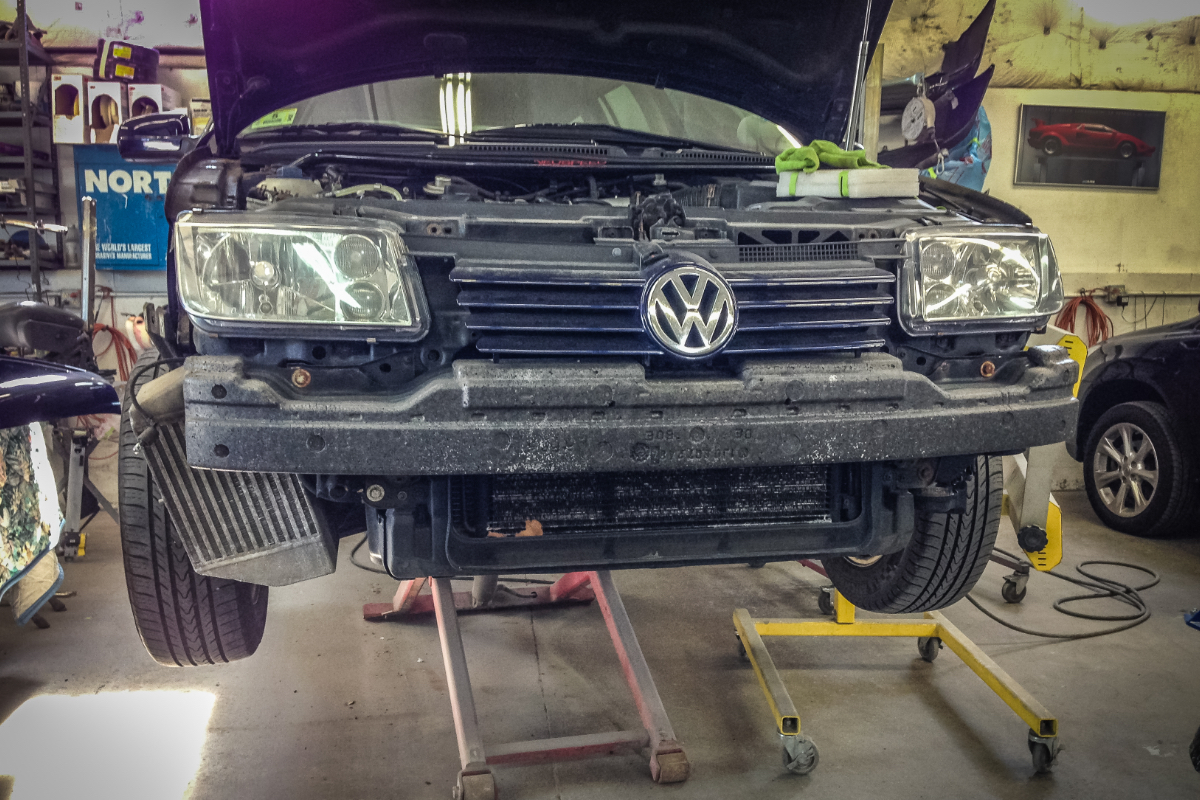
Safely lift the front end of the vehicle by using jack stands or a 2-post lift. Never support the vehicle’s weight using a hydraulic jack alone.
Remove the front wheels.

The calipers are held on with two 6mm allen-head slide bolts at the top and bottom. Remove the rubber covers and then unscrew the bolts.

Use a large flathead screwdriver to gently pry the caliper away from the carrier. You may need to rock the caliper back and forth if one of the slide guides is sticking.

With the caliper off you can remove the brake pads. Use a pair of channel locks or a brake wind-back tool to push the piston back into the caliper. Be sure to watch the piston boot to ensure it does not get caught or pinched. When the piston is fully retracted it should be flush with the caliper.

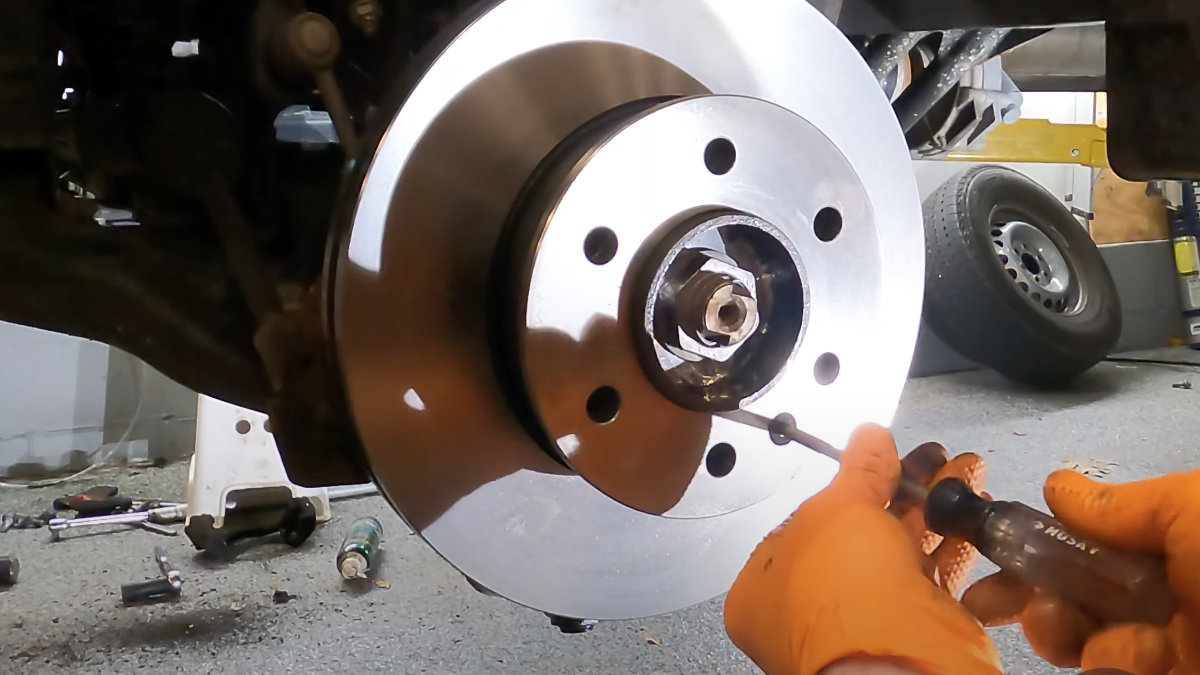
If replacing rotors then remove the rotor retaining screw with the T30 bit.


Place the new rotor on the hub and secure it with the rotor securing screw.


Slide the brake pads into the carrier. Insert the inside edge into first and then twist the pads into place.


Consult your brake pad manufacturer for instructions on break-in procedure, if needed.