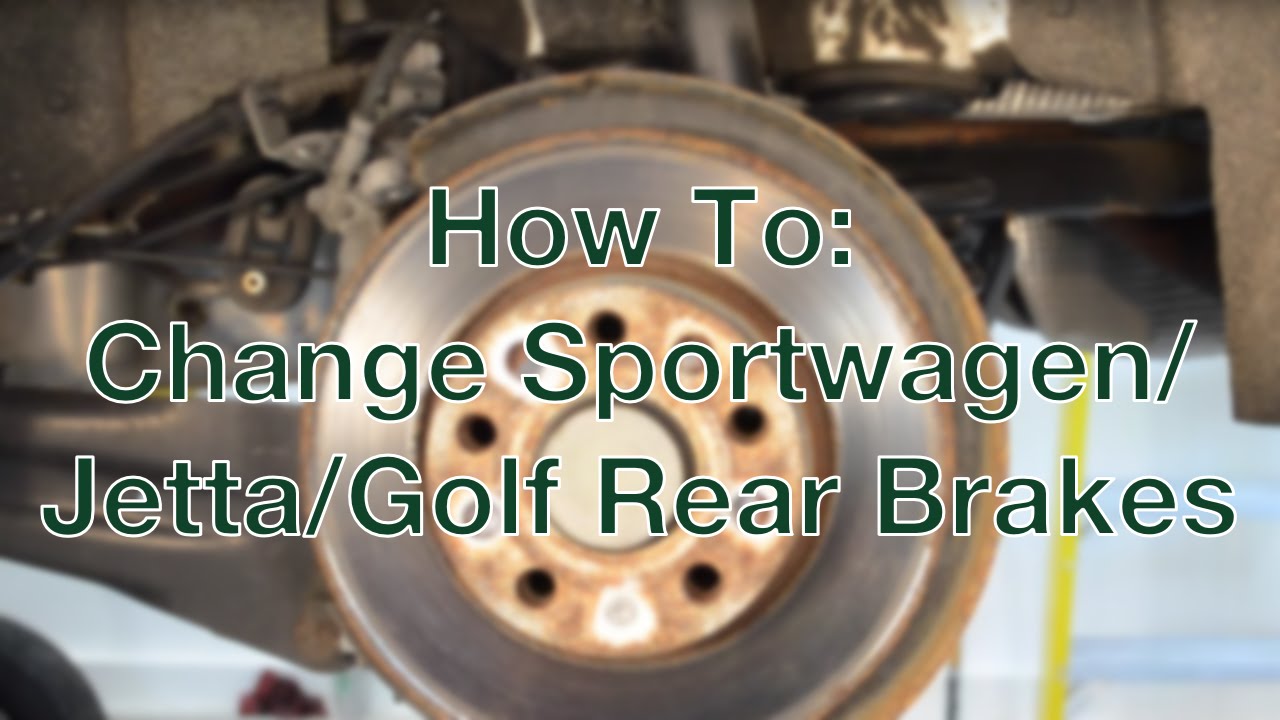
This how-to details the procedure for changing the rear brakes on any Volkswagen on the A5 chassis. The process is the same for gas and diesel models.

Required Parts:
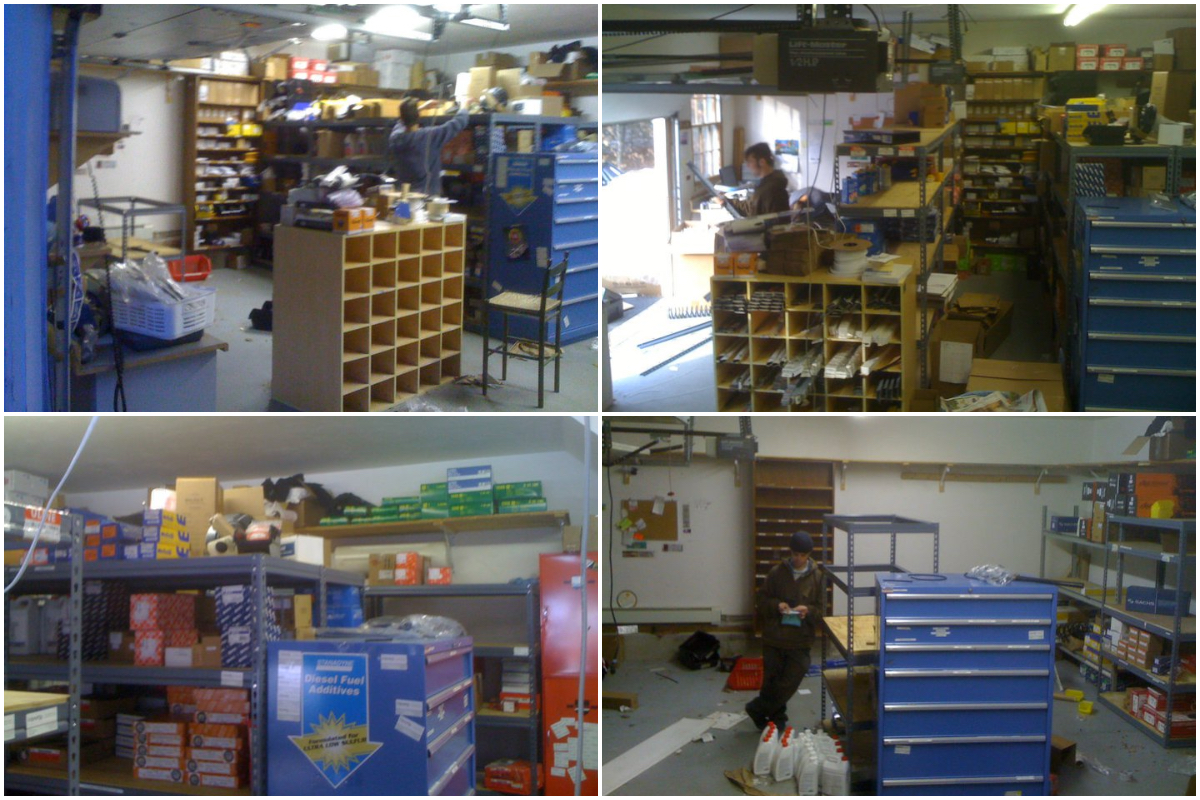
Includes everything you need to change the rear brakes on your Mk. V Jetta or Sportwagen.

Required Tools
- 13mm Wrench
- 19mm Wrench
- Rear Brake Tool
- Set of Triple Squares
- Gloves
- Wire Brush to rub rust off the hub
- Jack up the vehicle. The best way, if you do not have access to a lift, would be to jack up one side at a time at the manufacturer designated jack points, and place the car on jack stands.
- Remove both rear wheels.

3. Remove the two 13mm rear caliper to carrier bolts with a 13mm wrench and another wrench to prevent it from spinning. They are located behind the caliper, and hold it to the carrier.


4. Use a large flathead screwdriver to pry off the caliper and remove the old pads.

5. Using the rear brake tool, rotate and press the piston on the caliper back into its slot. It’s important to rotate and press at the same time or else you will damage the caliper.

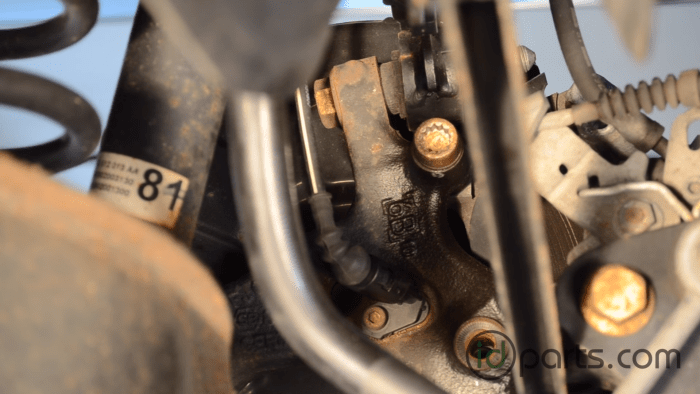
6. Remove the caliper carrier by unscrewing the two 14mm triple square bolts on the back of the caliper carrier. It’s a tight fit, so you might need to remove a brake line to get in there.
7. Remove the small rotor screw on the front of the rotor using a T25 torx wrench.
8. Remove the old rotor. It helps to whack it with a rubber mallet to get it unseated, especially if it’s rusted on.

9. If there’s any rust on the hub, use a wire brush to clean it off.

10. Place new rotor on.
11. Screw in new rotor screw.
12. Line up the 14mm caliper carrier bolts and get them started so they’re in place for the new caliper carrier.

13. Remove the old clips from the caliper carrier. The new brake pads probably came with them, but if they did not, you can clean and reuse.

14. With new clips in, line up caliper carrier, hand thread in bolts, and tighten.
15. Slide in new brake pads and make sure they are flush against the rotor.

16. Slide caliper back into place. Replace and retighten the bolts. Many brake pads come with new bolts.
17. Spin rotor to make sure pads are not dragging. If they are, you need to realign pads.

18. Before the wheels go back on, head to the drivers seat and pull the emergency brake up and down a few times. It will stiffen up as you pull. At the same time, press the brake pedal down. This should stiffen up after a few pushes as well.

19. Test drive the car to make sure everything is working properly. The brakes will break in on their own, no need to drive the car extra hard or anything like that.
You’re done!